How To Add CMS Previous/Next Navigation In Framer

Introduction
Welcome to this Framer tutorial, where you’ll discover how to add previous/next navigation buttons to your CMS collection without the need for any code!
This guide is entirely beginner-friendly, and to make things even easier, I’ve prepared a free working project you can remix for reference.
Interested? Let’s get started!
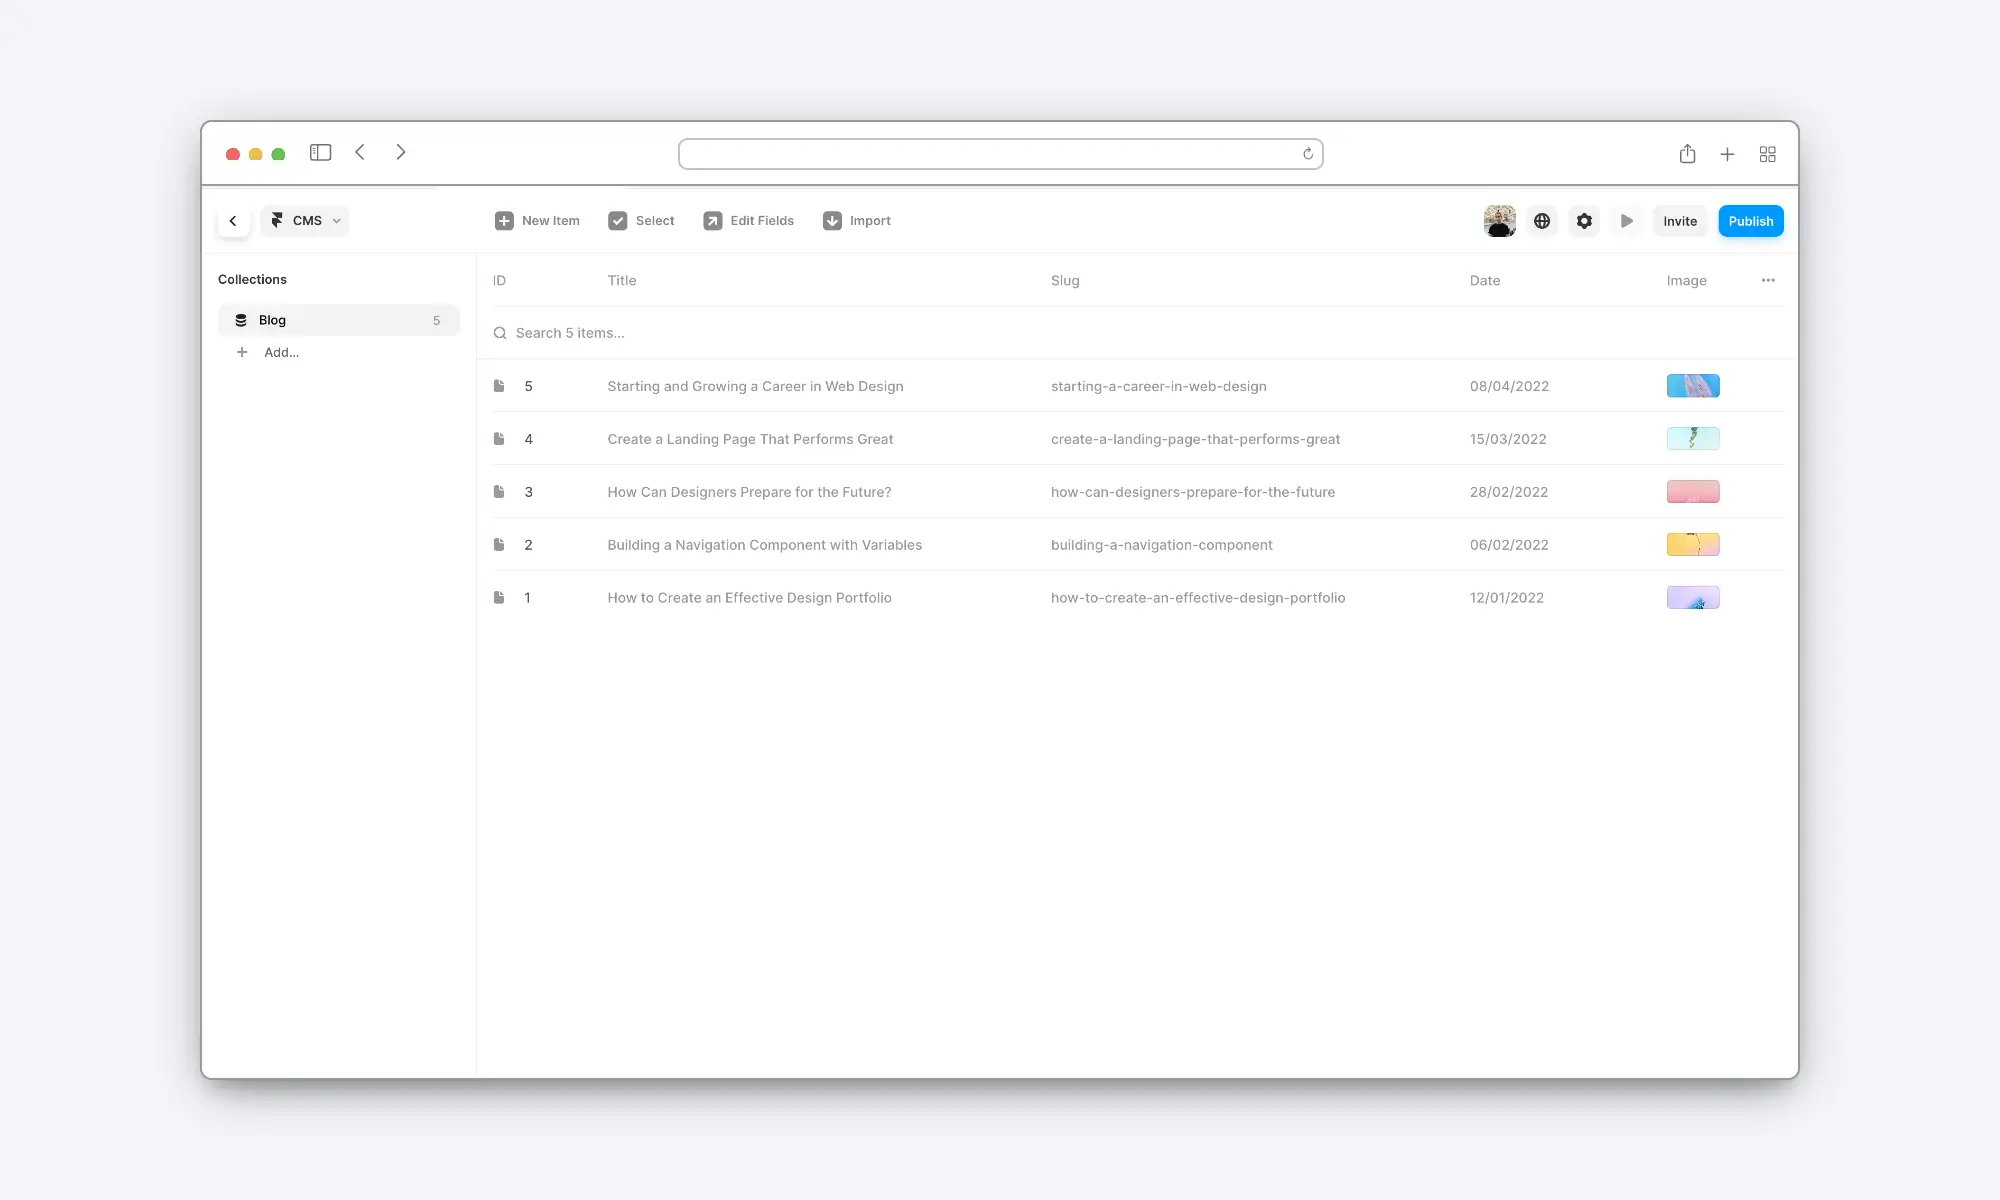
Step 1: Add An ID To Your CMS Collection
Assuming you already have some sort of CMS collection in place, the first step is to add an ID to its items.
The ID will be a number field that allows us to give the items an order to follow while displaying them.
To add an ID to your collection list, follow these simple steps:
Navigate to the CMS collection.
In the top bar, choose “edit fields” and use the + button to add a new number field (the ID).
Feel free to rename it; for our example, let’s call it “ID”.
Step 2: Add Two Collection Lists To Your Detail Page
On the detail page of your collection list, you’ll need to add two distinct collection lists: one for the previous article and another for the next one.
Each collection list should have a limit of 1. The collection list for the previous article will use the default sorting, while the other will be set to reverse sorting.

Note: Set the exact opposite sorting rules if your collection list has the smallest number at its top.
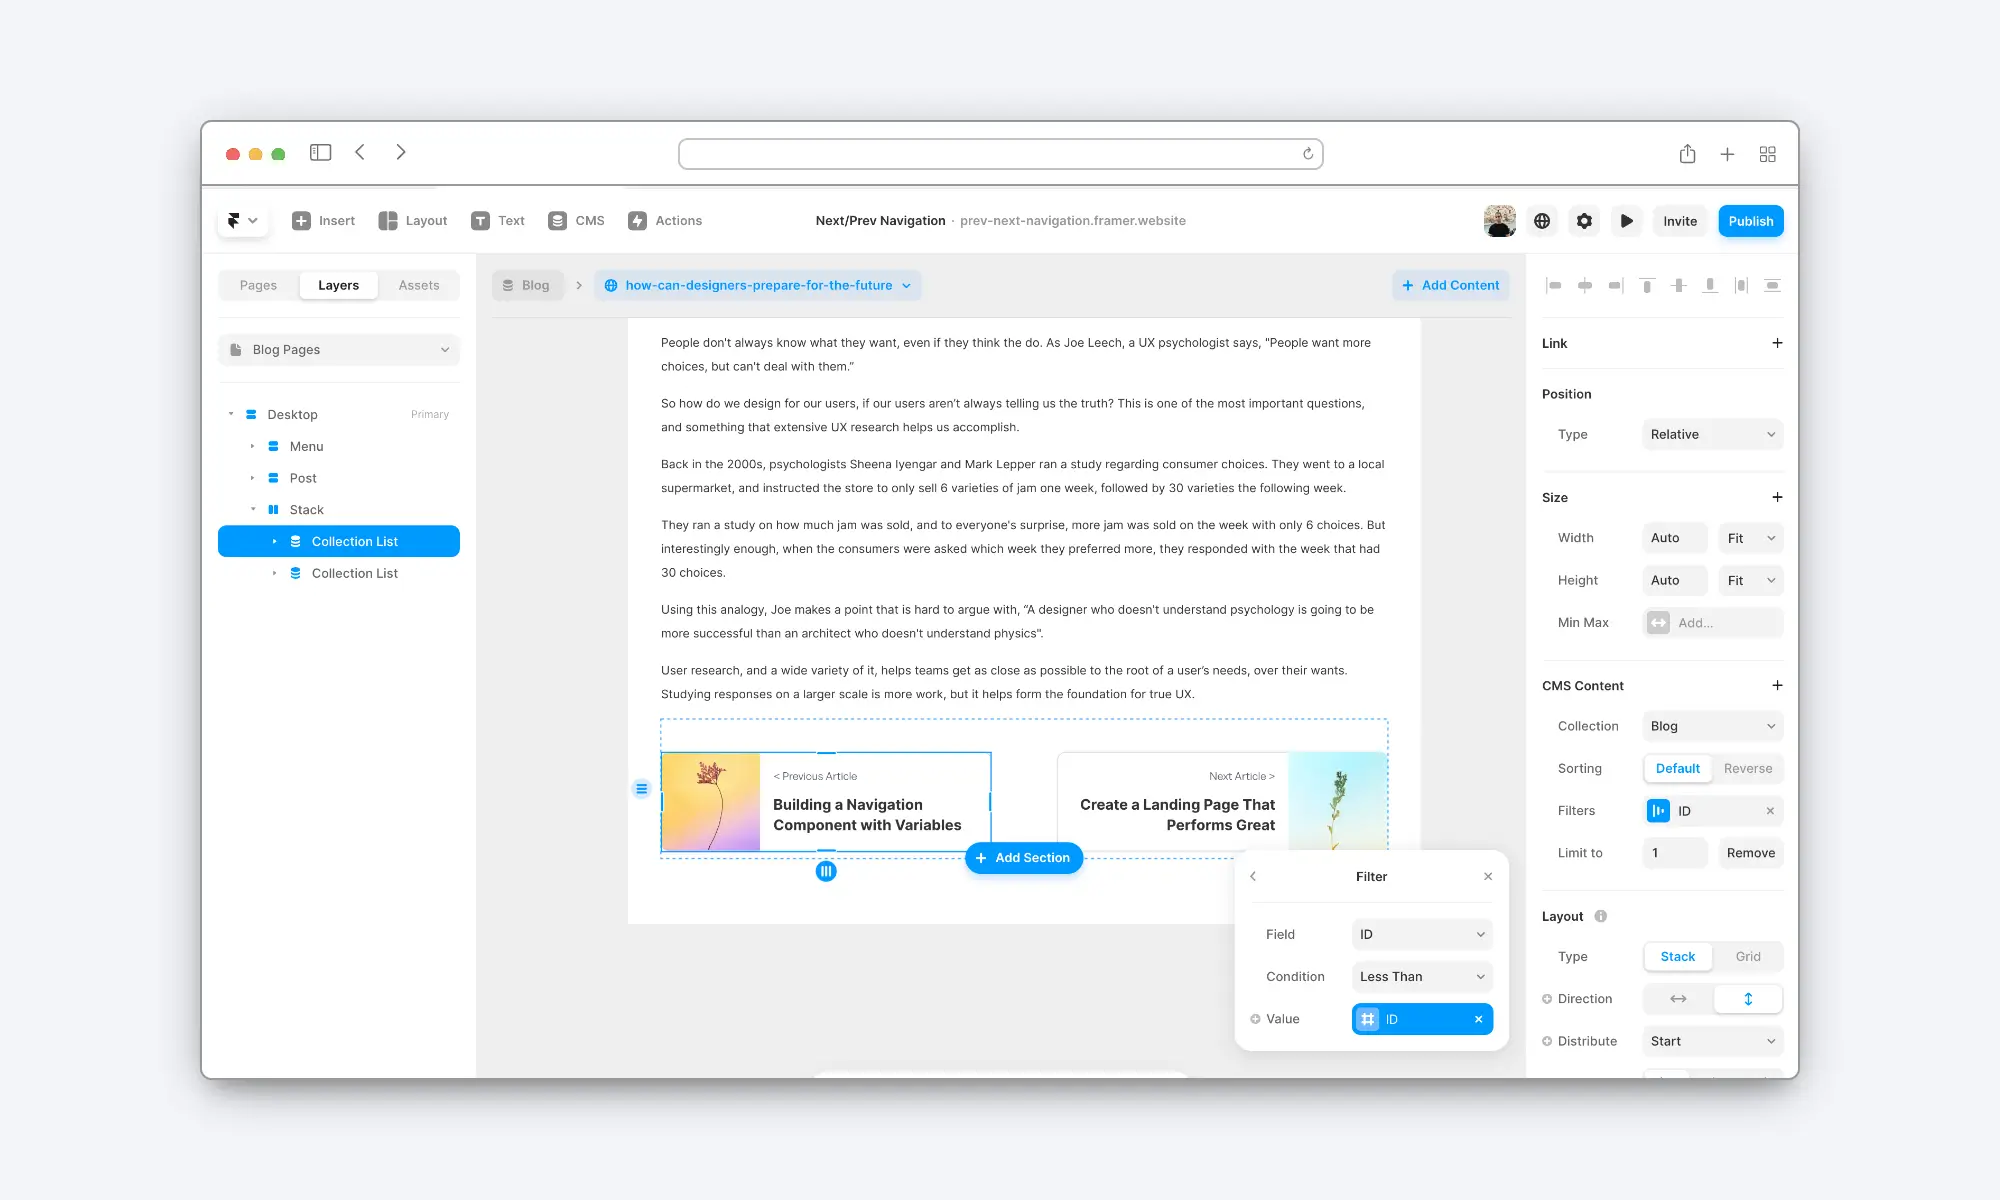
Step 3: Set Up The Filters
It’s now time to set up our filters. Here’s how:
Select the collection list.
In the right sidebar, under the CMS Content section, click on “add filter”.
Set the field to be the ID you created earlier.
Set the condition to be less than/greater than (depending on whether you want the previous item or the following one).
Set the value to be equal to the current item’s ID (using variables).
Repeat this process for the other collection list, and you’re all set!
Conclusion
Thanks for taking the time to read the guide, I hope you found it helpful! If you need any assistance with your Framer website, do not hesitate to reach out.
If you enjoyed the article, I encourage you to share it with a friend! Thanks in advance ;)